
HOW TO ENHANCE YOUR IMAGES FOR THEME COLLECTION – 8 WAYS TO IMPROVE PHOTOS
Even the most beautiful and perfectly-designed WordPress theme can be spoiled with poorly edited images. According to the survey, readers only remember approximately 10% of the written text they read several days ago. If the content includes eye-catching images, this number increases up to 65%.
Make sure your website contains only bright and appealing pictures without any distracting components. It’s crucial to learn how to enhance your images for theme collection before importing them to your web page.
As Photoshop and Lightroom are the most popular and powerful photo editors nowadays, all the tips provided in this guide will be useful for users of these programs. However, many of them are suitable for other software as well.
1. Crop the Image to Improve Composition
According to the survey conducted by W3Techs in 2022, 43.2% of all websites are built on WordPress. You can attract more visitors to your website by adjusting the composition of your photos. The most effective manipulation involves cropping pictures. This action allows you to delete unwanted and distracting parts and bring some areas of a picture into focus.
Cropping large image areas can result in an image of poor quality.
Experts recommend: Imagine that four lines divide your picture into vertical and horizontal directions. This technique is known as the rule of thirds. The focal points will be at intersections of these lines, forming the most significant area of your picture.
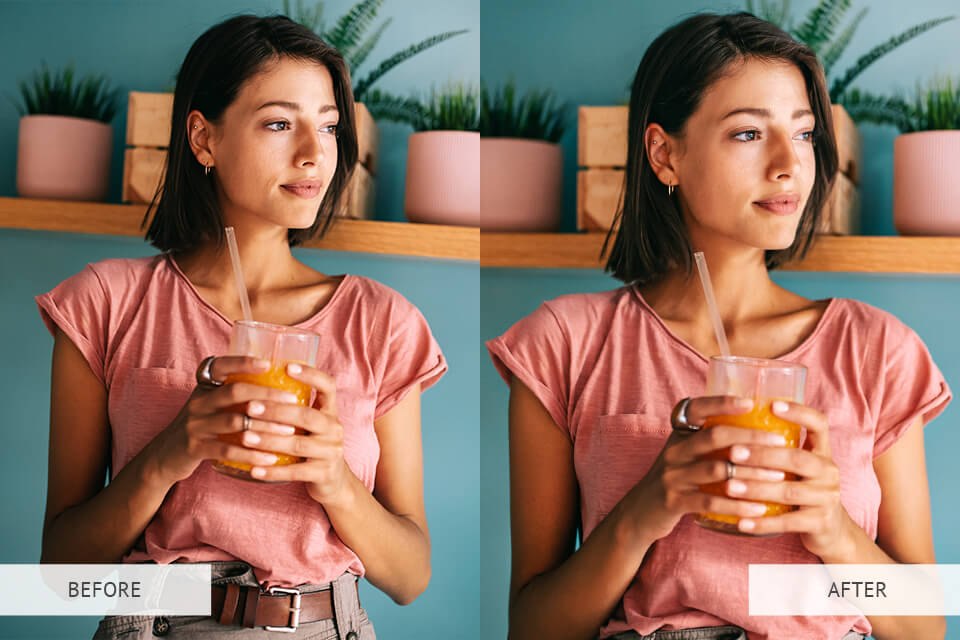
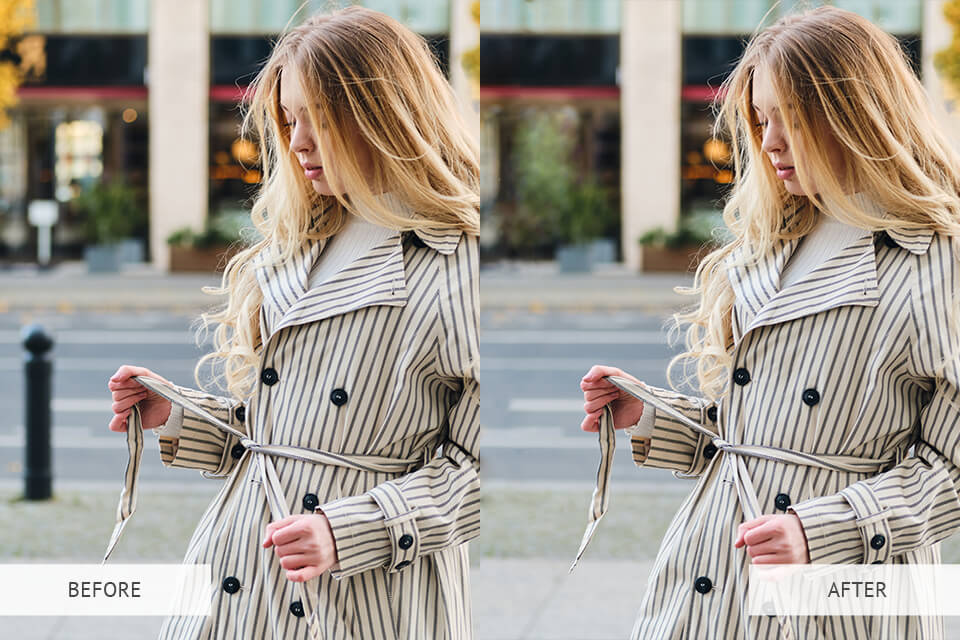
2. Perform Professional Retouching for a Polished Look
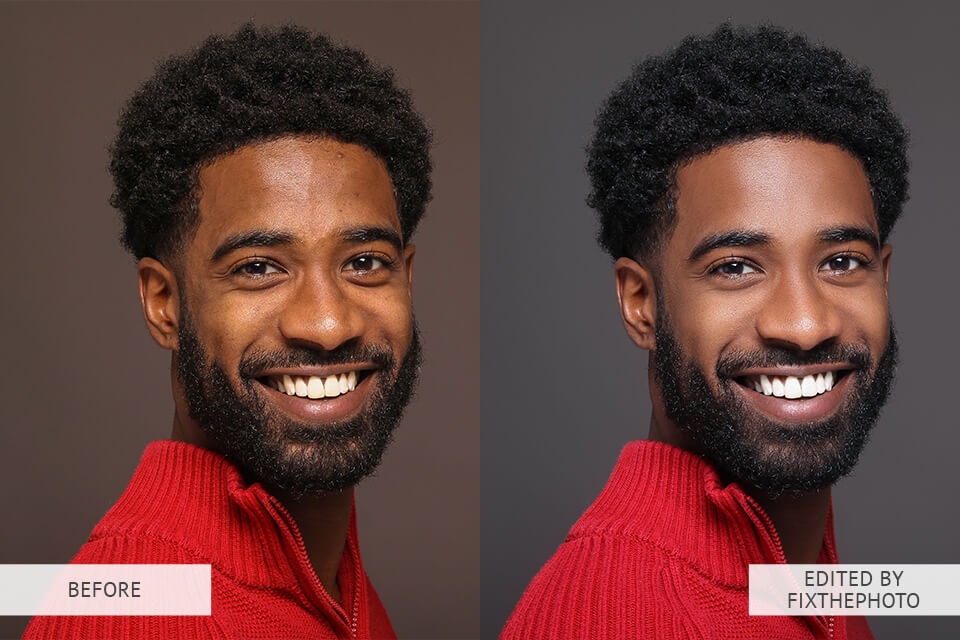
It is important to make the photos published on your website look professional. By refining hair, skin, and background, you can make your pictures more eye-grabbing and appealing. However, photo editors know that retouching is a long and complicated process that demands a high level of professionalism.
If you do not want to spend hours learning the basics of photo retouching, turn to a photo enhancement service for help. The company provides professional photo editing, color correction, skin enhancement, and defect removal services at a moderate cost.
Addressing the specialists is a sure and speedy way to get professionally edited pictures that you can use on your WordPress website. They can also process images in a consistent style.
Experts recommend: Experts advise performing frequency separation, which is the most convenient way to emphasize the image’s colors and textures by creating separate layers that can be customized individually. So, it is possible to smoothen the skin while leaving colors intact. Besides, you can also make shadows less visible without affecting the skin texture.
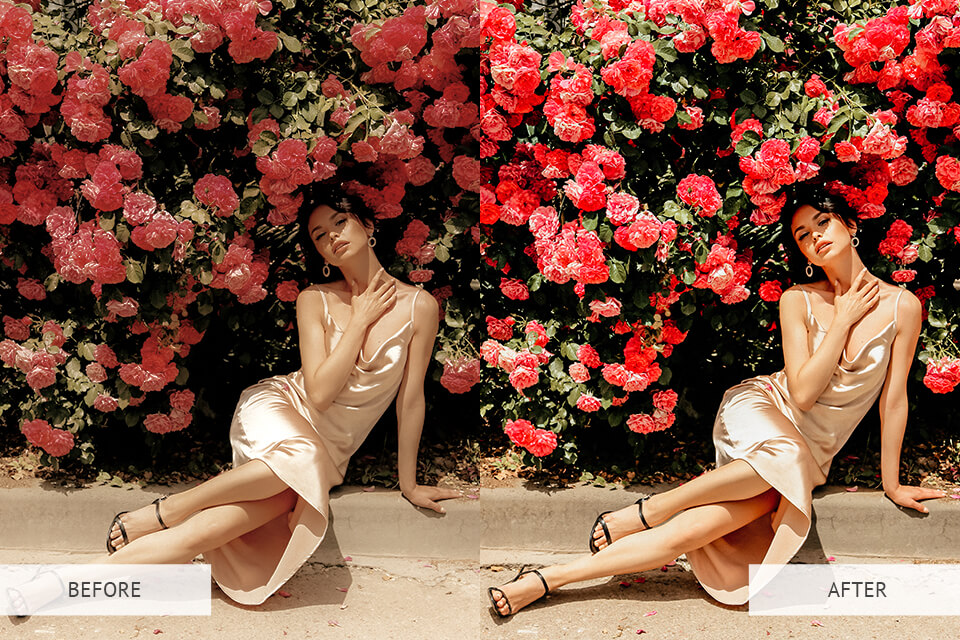
3. Improve Colors with HSL Tools
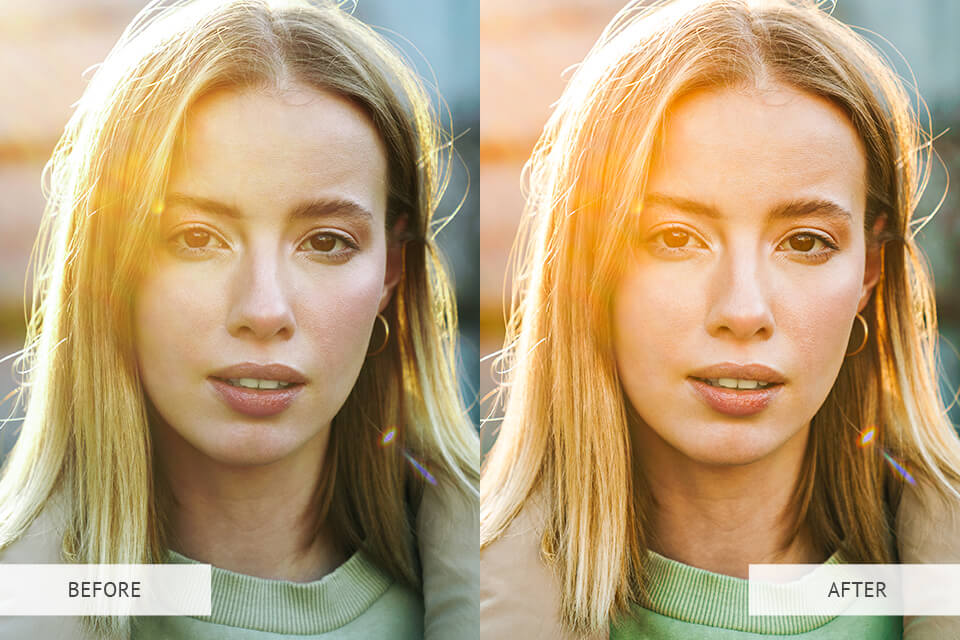
As the survey of WPCity has shown, over 181K top websites are designed using WordPress templates. Themes can be even more attractive if you perform color correction. As practice shows, not only well-retouched images but also pictures with the enhanced color scheme attract viewers’ attention. You can saturate colors, make them brighter, darker, or more vibrant, accentuate some shades, etc. To improve your website design, choose the main color and emphasize it in every photo.
The HSL is a wonderful photo enhance tool available in both Lightroom and Photoshop. With it, the correction of Hue, Saturation, and Luminance of s particular shade in your picture is a breeze. Select one of eight basic shades and customize its specifications: add some hue or make it brighter.
Experts recommend: Use a color picker to avoid selecting the needed color. This feature helps you find the right color.
4. Emphasize Elements Using Digital Blur
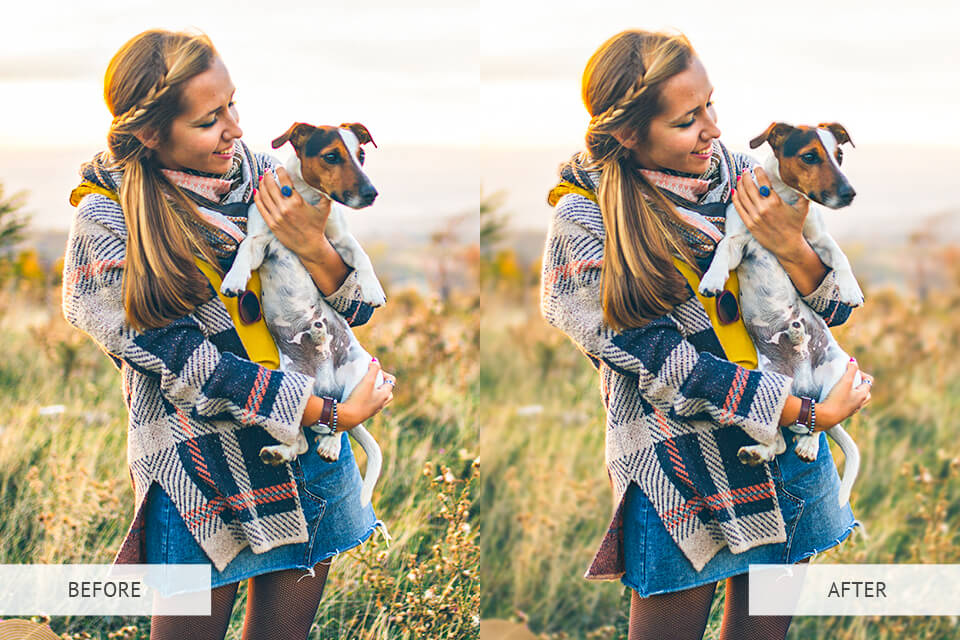
People prefer websites with lots of visual content. According to surveys, websites with many pictures appeal to 60% of customers. To make these pictures even more attractive, experiment with digital blur.
Sometimes you need to focus on some particular elements in your photos, but this is absolutely impossible if your images have many unnecessary components. To conceal these distracting features, blur the needed areas and bring the focus on the subject.
Avoid intensive blurring to enable the viewers to recognize the hidden silhouettes and scenes with ease. The dramatic bokeh effect will result in the abstract wash of colors and almost inconspicuous shapes. This is probably the optimal solution if you want to make the background more dynamic.
Experts recommend: Graphics programs allow you to apply a variety of blur effects, but most photo editors prefer a Gaussian blur as it looks more natural. Of course, you are free to experiment with other effects as well to create an original and captivating composition.
5. Remove Unwanted Objects with the Clone Tool
We live in a world that is full of both beautiful and ugly objects, therefore it is not a surprise that images can feature some unattractive things. These are rubbish bins, road signs, and other unwanted elements that can spoil the overall composition. Until recently, only professional designers were able to delete such things from a photo, but nowadays even inexperienced photo editors can perform this task using a decent program.
For instance, a landscape photo might feature an unattractive electricity pylon that distracts attention from the beautiful sunset. To get rid of it, copy any area and place it over the pylon. Of course, some skills are required to perform this task, but this technique can save the whole composition.
Experts recommend: Most programs have a Clone Tool or even more advanced features like Photoshop’s Patch Tool and Healing Brush. These options are great for cloning one section of a picture and putting it over another.
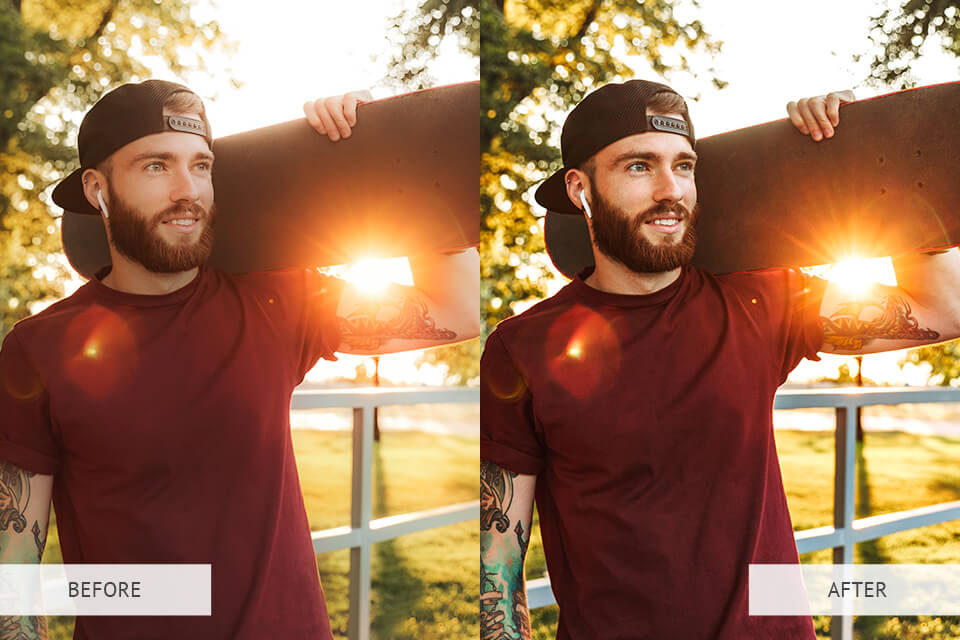
6. Adjust Exposure and Contrast
If the picture you want to import into one of the WordPress templates has incorrect exposure, it requires some editing. You can fix overly bright images by decreasing the exposure, while dark pictures can be enhanced by increasing it. By adjusting Brightness, you can correct the overall exposure, Highlights brighten or darken bright tones, and Shadows brighten or darken the dark tones.
People who want to learn how to enhance images should try to adjust contrast. It affects dark and light tones. A highly contrasted picture features very intensive colors, regardless of the tone. Low values result in a flat picture where no components stand out. So, to make a photo more appealing, make sure that the contrast level is perfectly-balanced. In some cases, image editors opt for extreme values to create dramatic effects.
Experts recommend: If you want to check whether your exposure is correct, make sure to use the histogram when editing your photo.
7. Improve the Sharpness of the Details
Sharp pictures look cleaner and more appealing. By setting the right sharpness, you can make tiny details more visible. Drag the slider to the middle of a scale (from 0 to 100) to create a starting point, and then move it in the necessary direction. To make this process faster and simpler, zoom in on a picture to check how it is changing when you are modifying sharpness.
Make sure to adjust this value after editing your image. Do not be afraid of increasing sharpness drastically.
Experts recommend: With the help of a “Clarity” or “Structure” tool, you can emphasize the edges of any object in the picture.
8. Adjust the White Balance for Accurate Colors
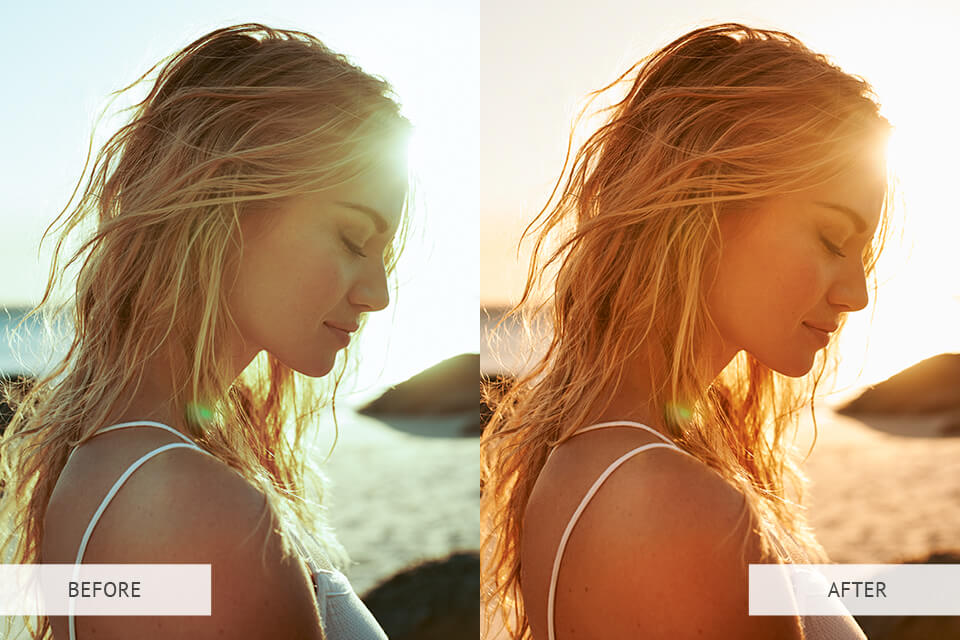
Each light source produces light of different temperatures thus affecting the WB. Images that feature a sunset have a warm color scheme, whereas in overcast photos cold and blue shades prevail. Tubular fluorescent lights produce cold white lighting, while incandescent lights cast by table lamps result in warm colors.
Properly set WB ensures that the skin tones, as well as the white and gray sections of your image, look right.
Experts recommend: To fix WB using Lightroom, choose the dropper tool and click on the area of your picture you need to be purely white or gray. Photoshop users should go to Image –> Adjustments and select the Color balance option.


